

Best photography spots in Banff National Park..
Best photography spots in Banff National Park and how to get to them.
I have been fortunate enough to live here in the Canadian Rockies for the past 3 years. I pinch myself every day! As a landscape photographer, I have discovered some hidden gems (separate blog post) but the iconics never disappoint and are a must for any landscape photographer visiting Banff. There is a reason they are iconic!
Let’s start off with my absolute favourite location!
The beautiful Bow Lake on the Icefield’s Parkway HWY 93 NORTH
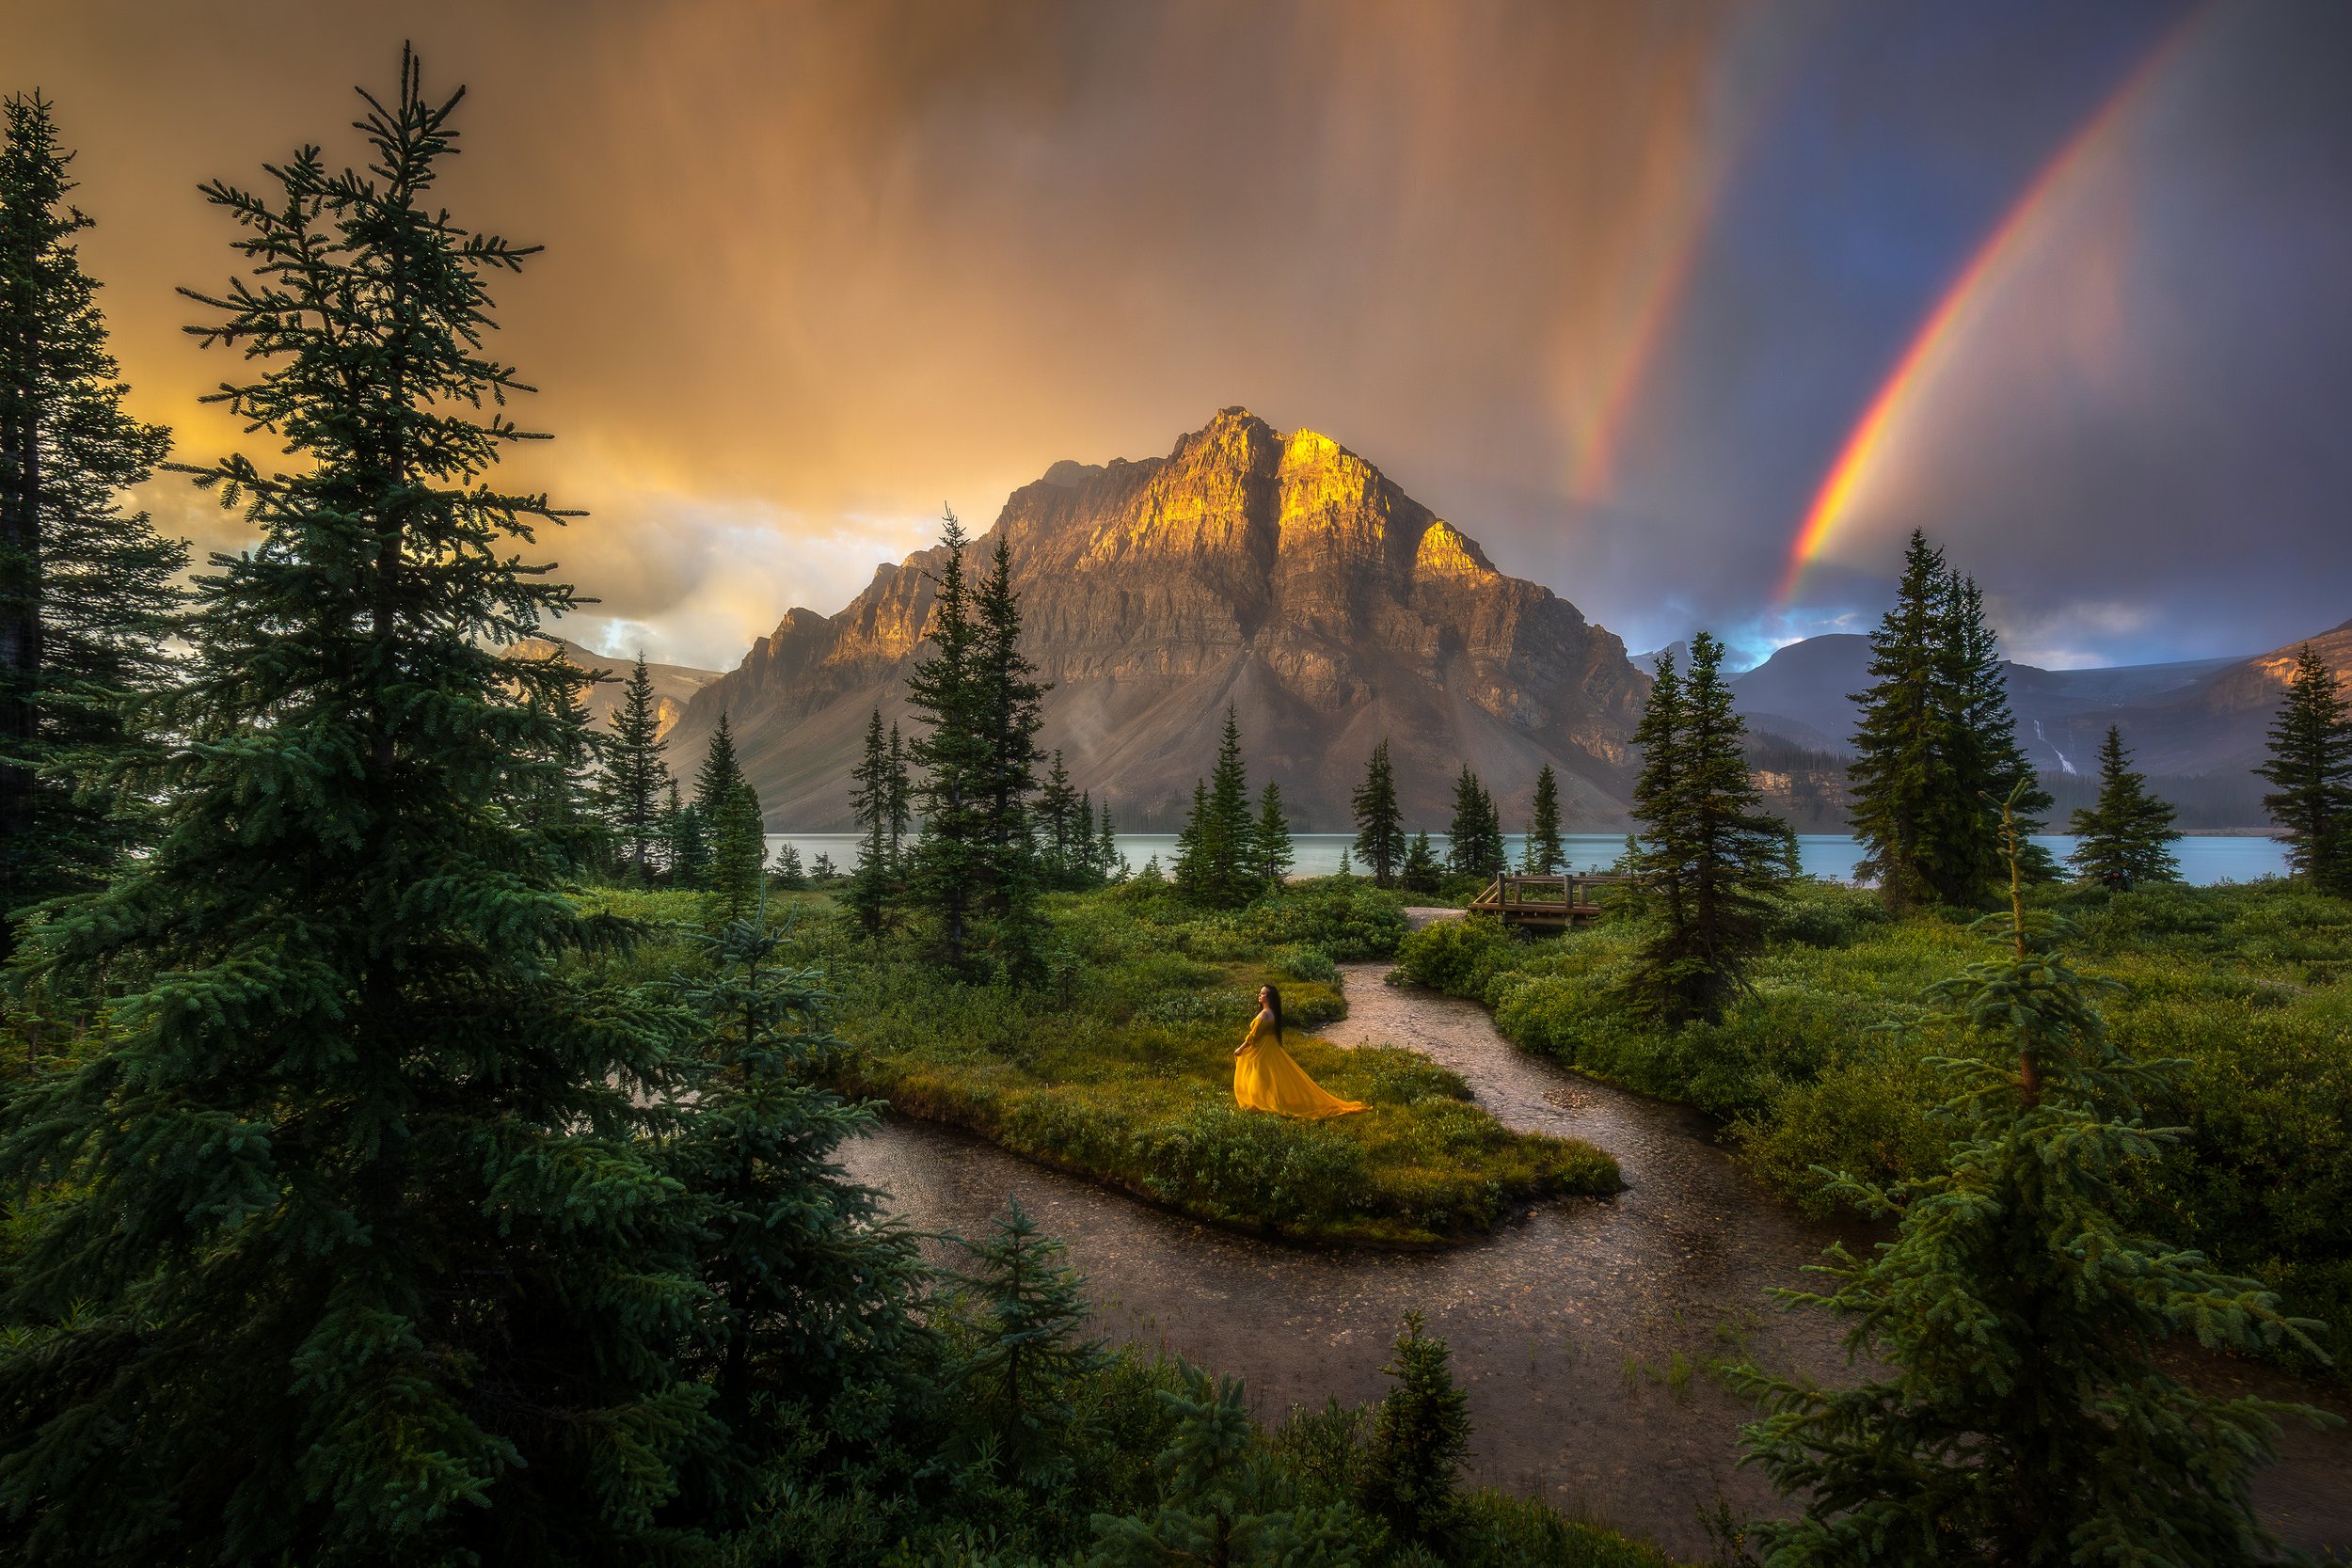
Bow Lake at sunrise
This location is EASILY my favourite place to head out for a quick sunrise or sunset. What I like about it the most is how big the area is and all the unique compositions that can be found by walking around the lake. Like many locations, sunrise is an ideal time to photograph here, but sunset is just as beautiful.

I particularly love visiting Bow Lake in November when the lakes are just starting to freeze over, creating unique foregrounds along the shore line.
Image taken during sunrise as the light starts to hit the peak of the mountain from the east.

Even during the middle of the day with clouds blanketing the sky, Bow Lake is still a wonder to photograph.
Wildflowers cover the surrounding field close to the lake's edge which provides even more unique foreground opportunities.

Looking towards the east where the sun rises. The iconic mountain Crowfoot, is to the right of the bridge.
Bow Lake is easily accessible by taking HWY 93 North (The Icefields Parkway) just after passing Lake Louise and heading west on the Trans Canada HWY. Once you hit HWY 93 - Bow Lake is approx 40 mins on the left-hand side of the road. Turn left into Num Ti Jah Lodge for parking.
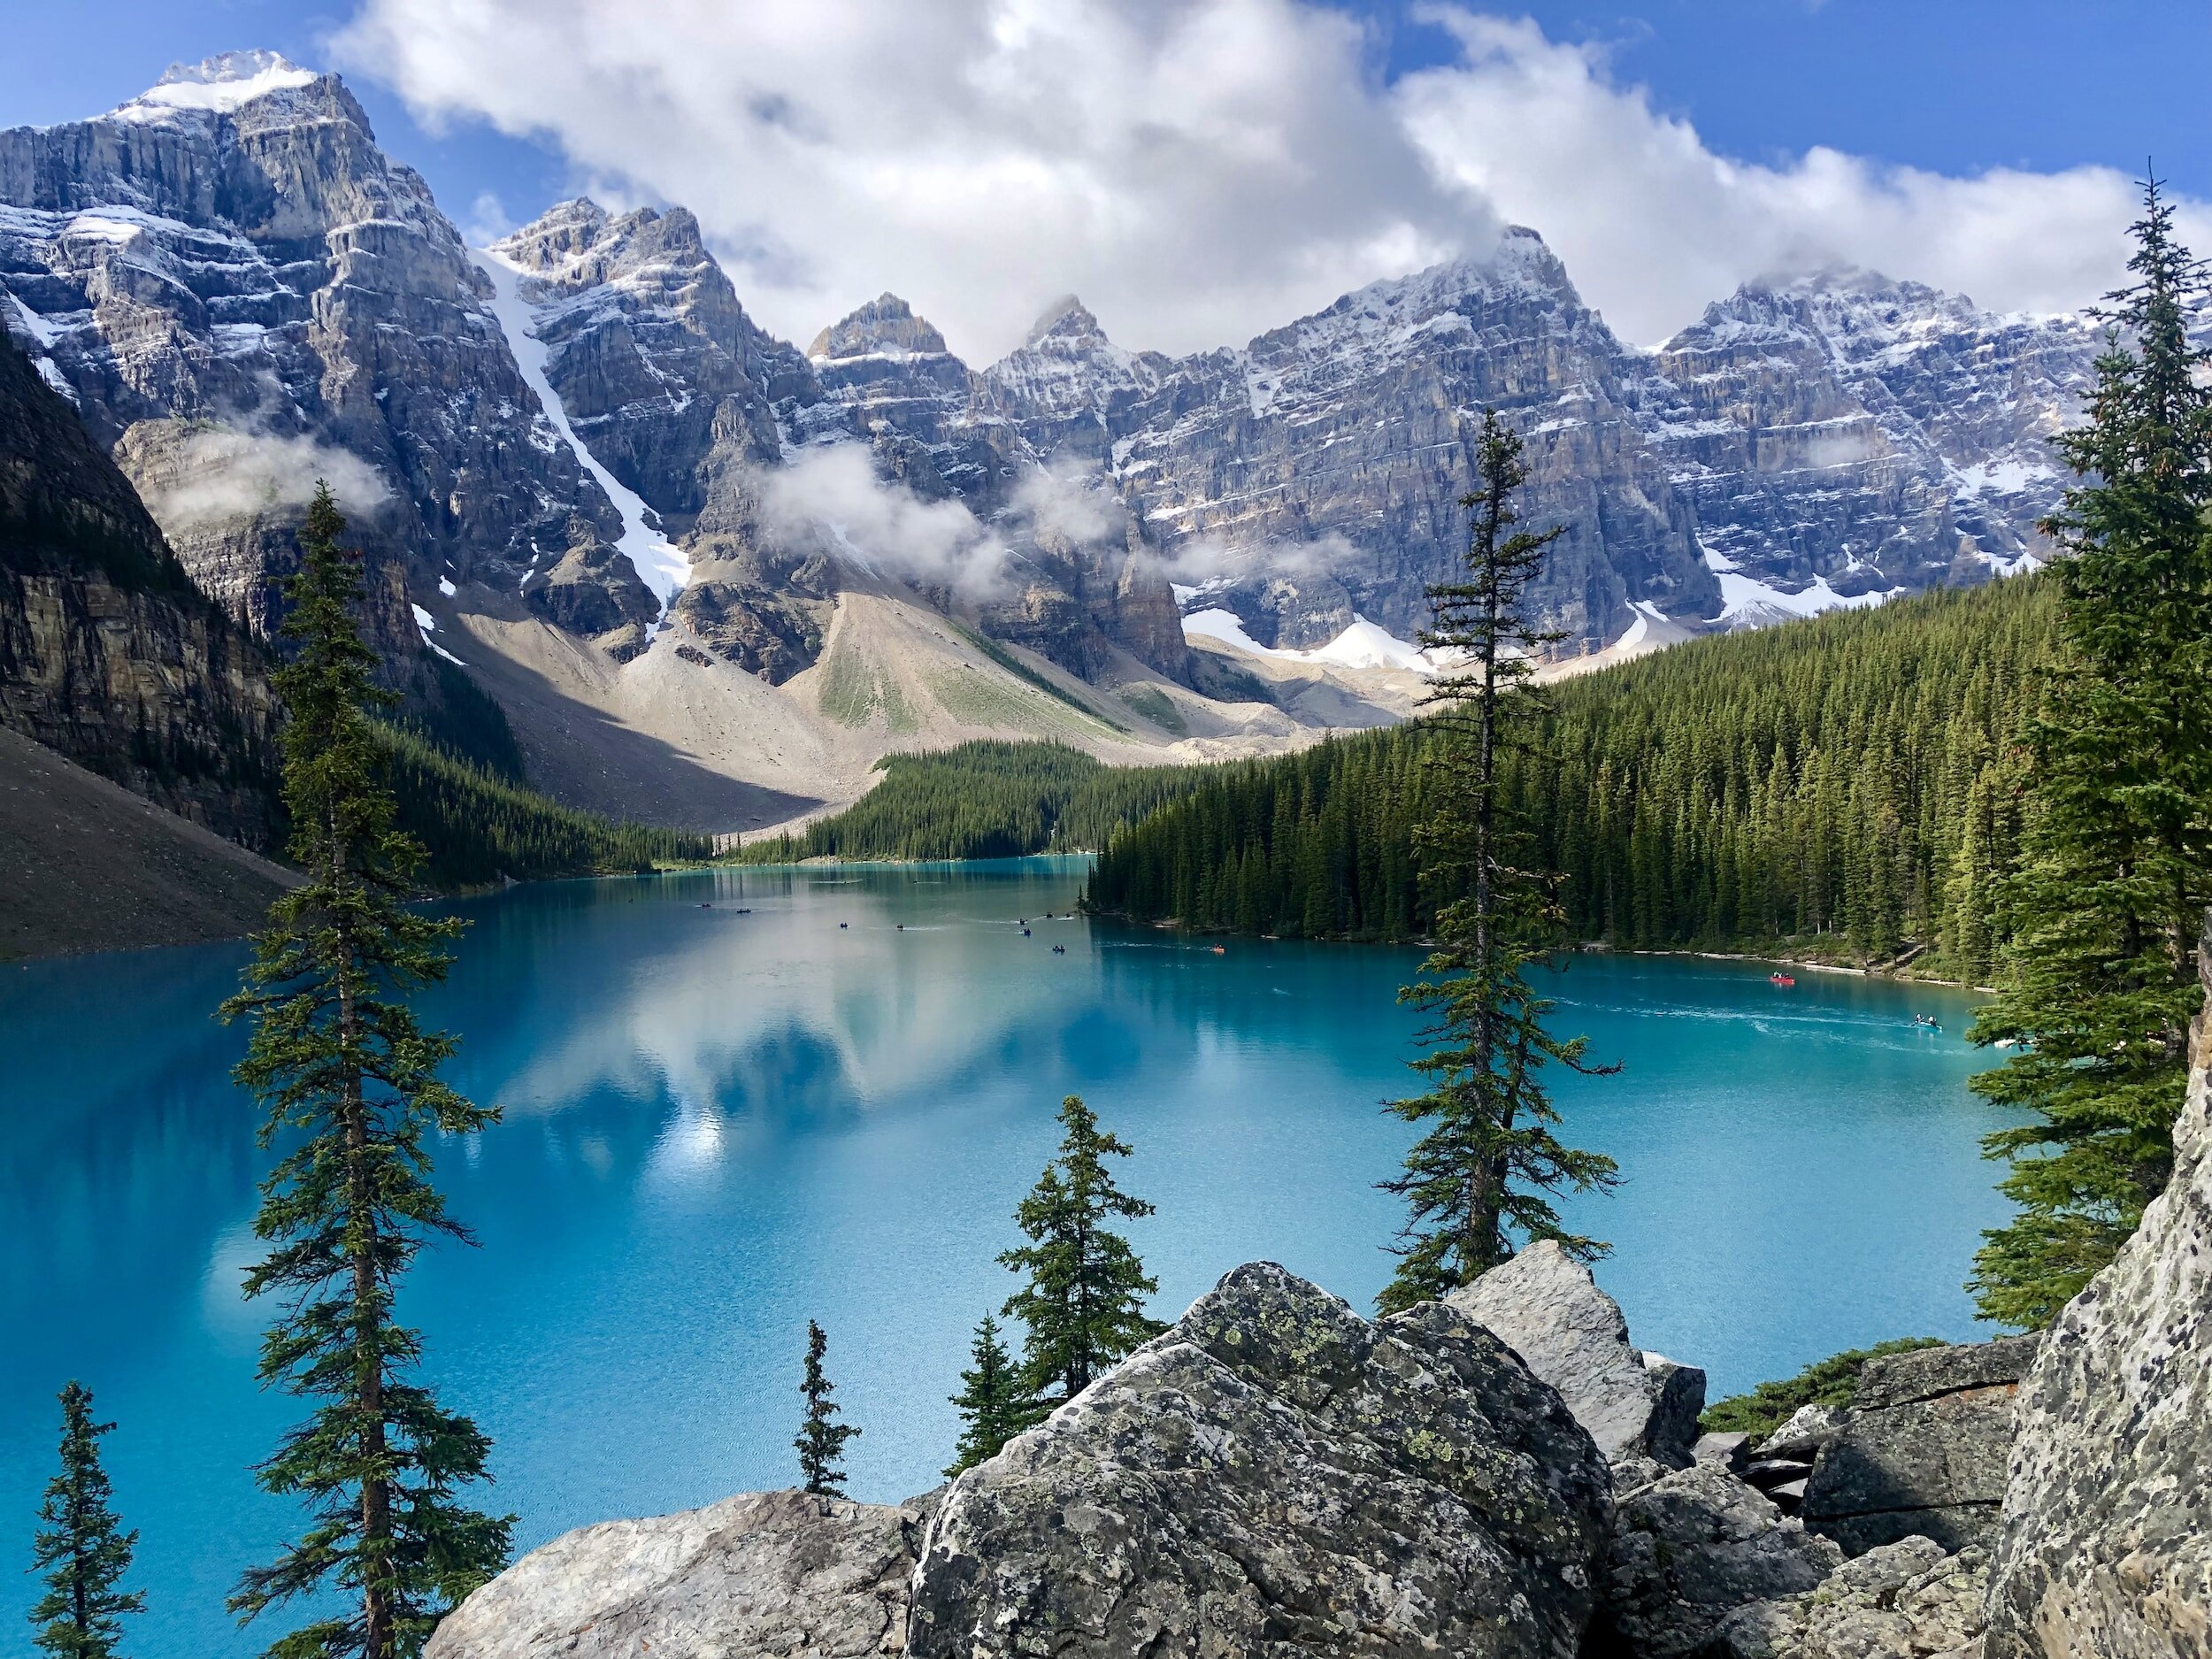
Is it a trip to Banff National Park without photographing the famous Moraine Lake?
I think not…
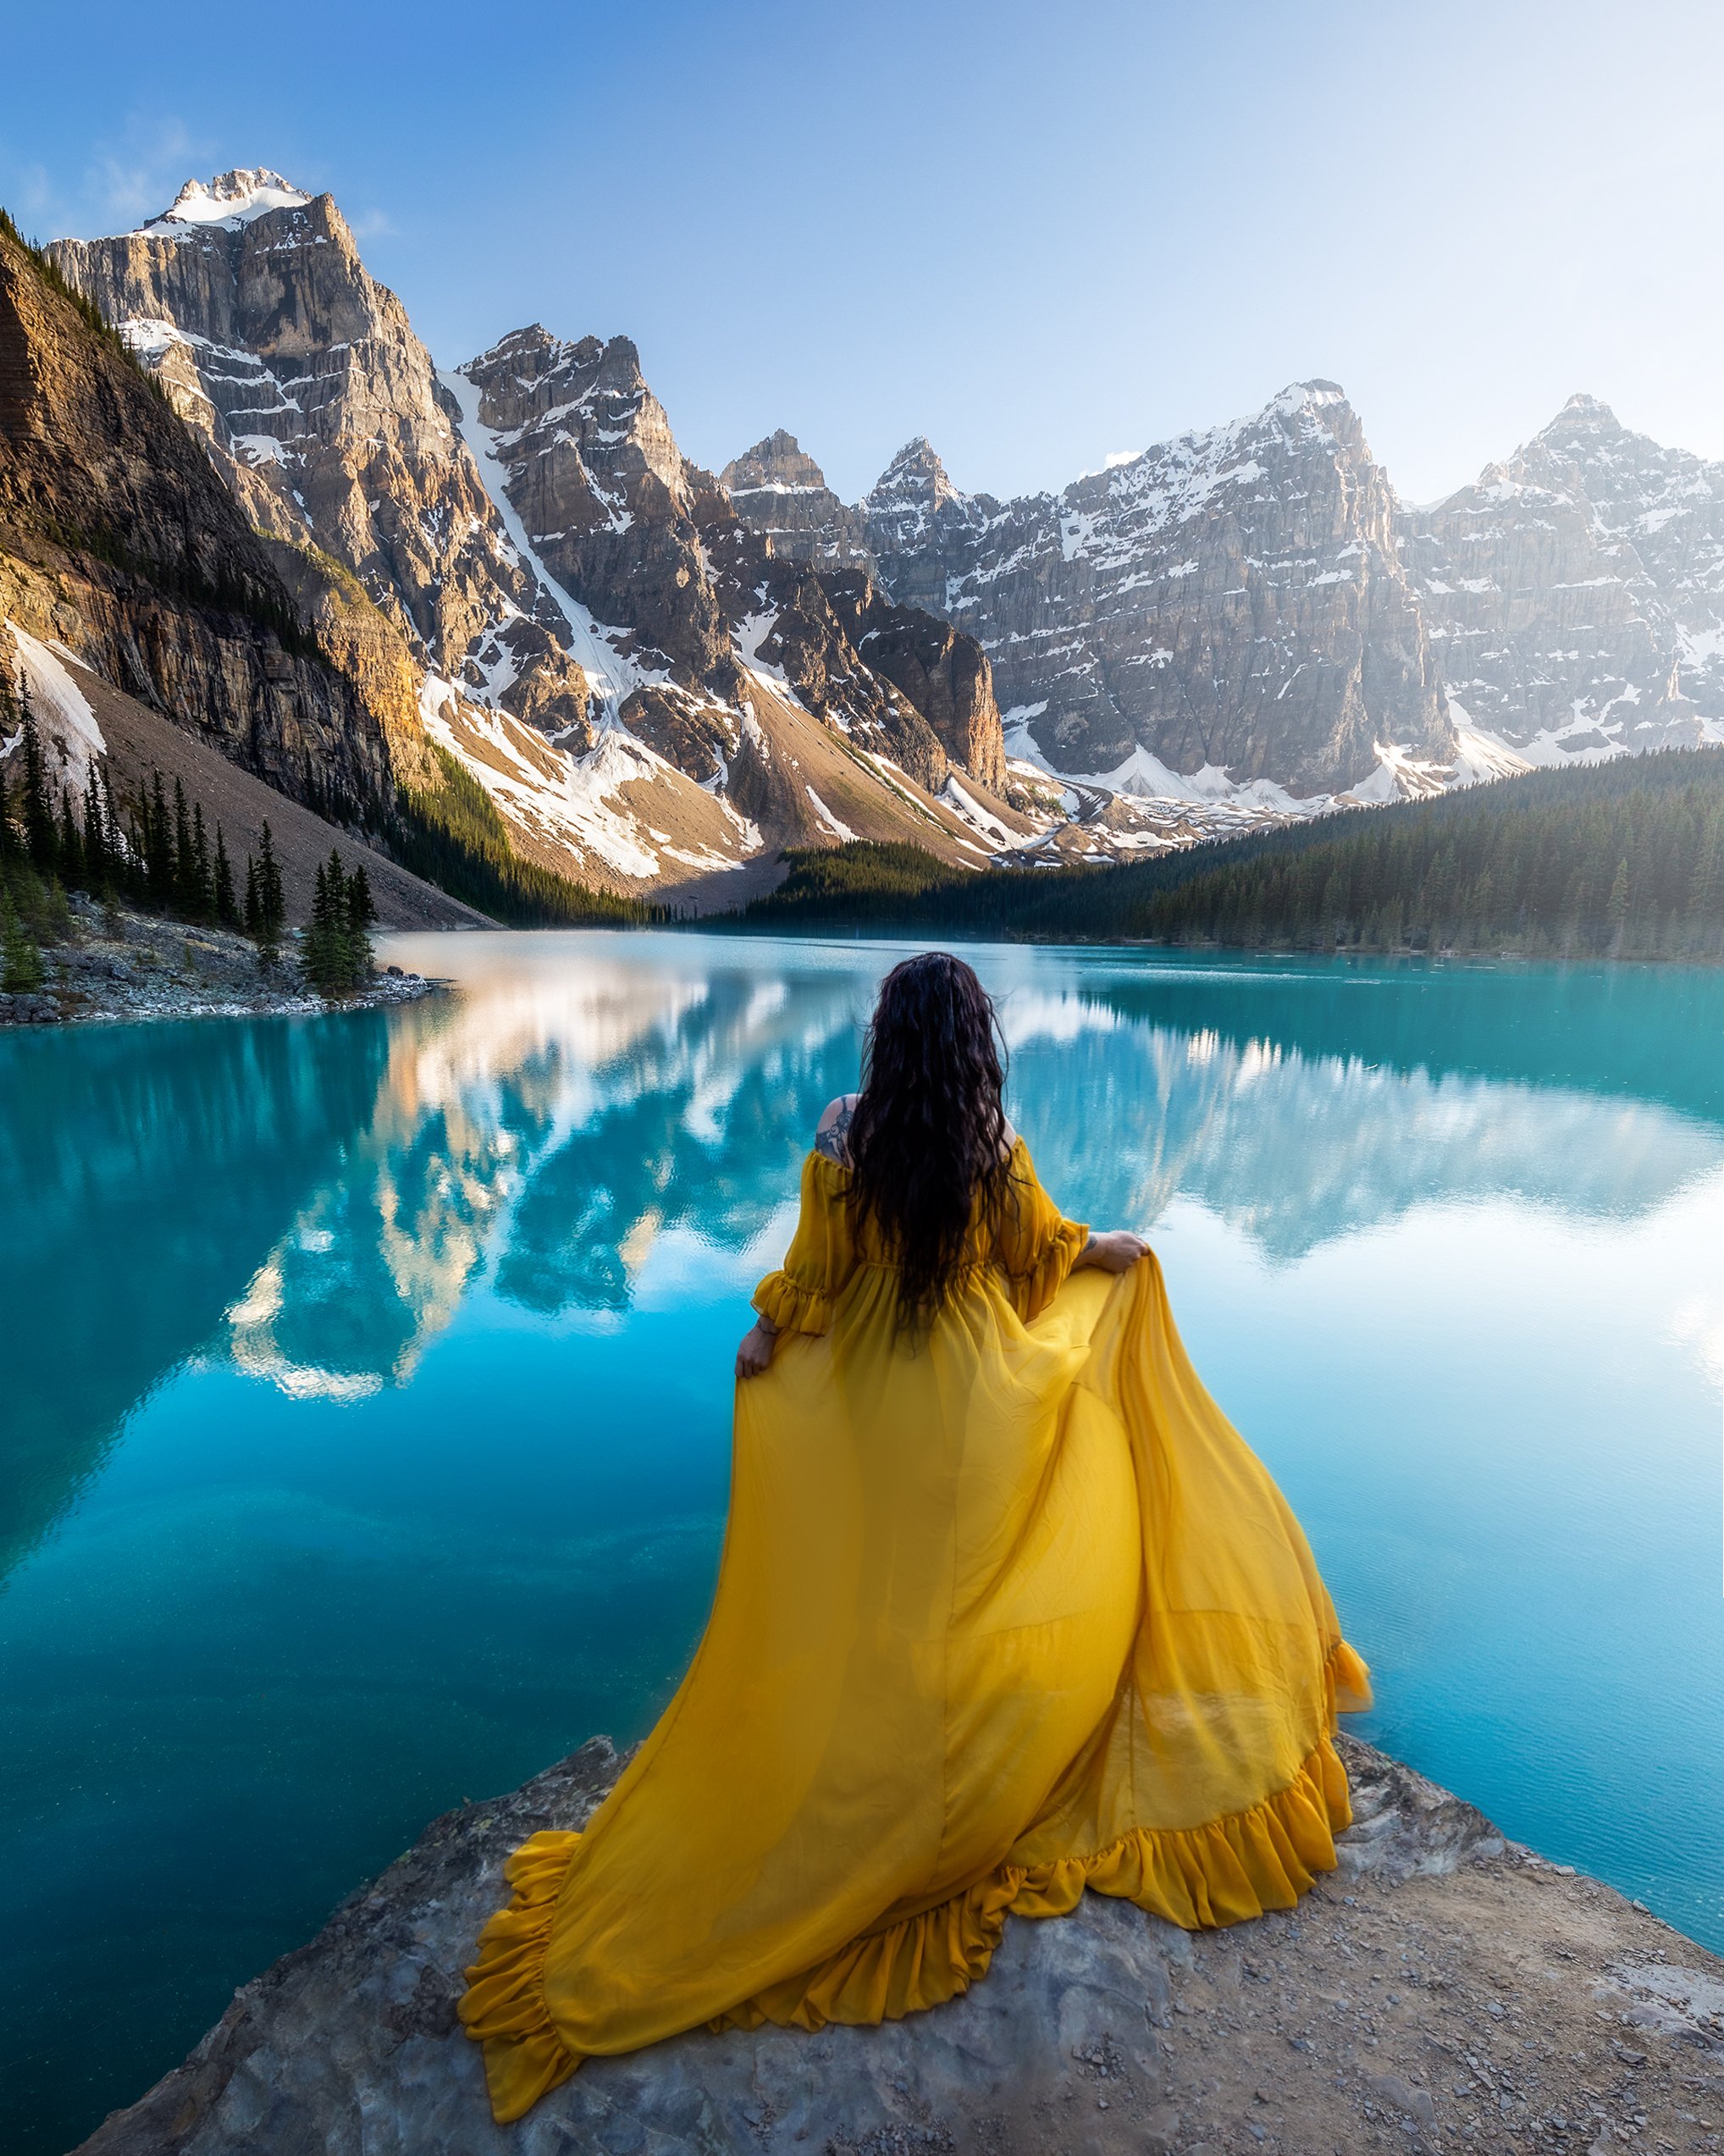
Moraine Lake at sunset
A place so iconic that it graces our Canadian currency! Recently in 2023, Moraine Lake made the switch to a shuttle-only system. This may seem like a bit of a hassle now to reach this location, but for photographers, it is probably one of the best things to happen. It requires a bit of planning now and booking ahead to get here, but that also means the number of people at Moraine Lake for sunrise is limited. In my opinion, that is well worth the shuttle ride! You can always make the hike up the road or take a bike, just be aware, that it is 13km and it is up up up. The shuttles do fill up quickly, but with a little planning in advance, you should be able to secure a spot. I like this company for its sunrise services! Moraine Lake Shuttle

It’s more common to photograph Moraine Lake at sunrise, but I find the middle of the day and sunset to be just as beautiful!
How to get here?
Moraine Lake is located 13KM up from Lake Louise. Your parking destination will be provided by the shuttle system you use.
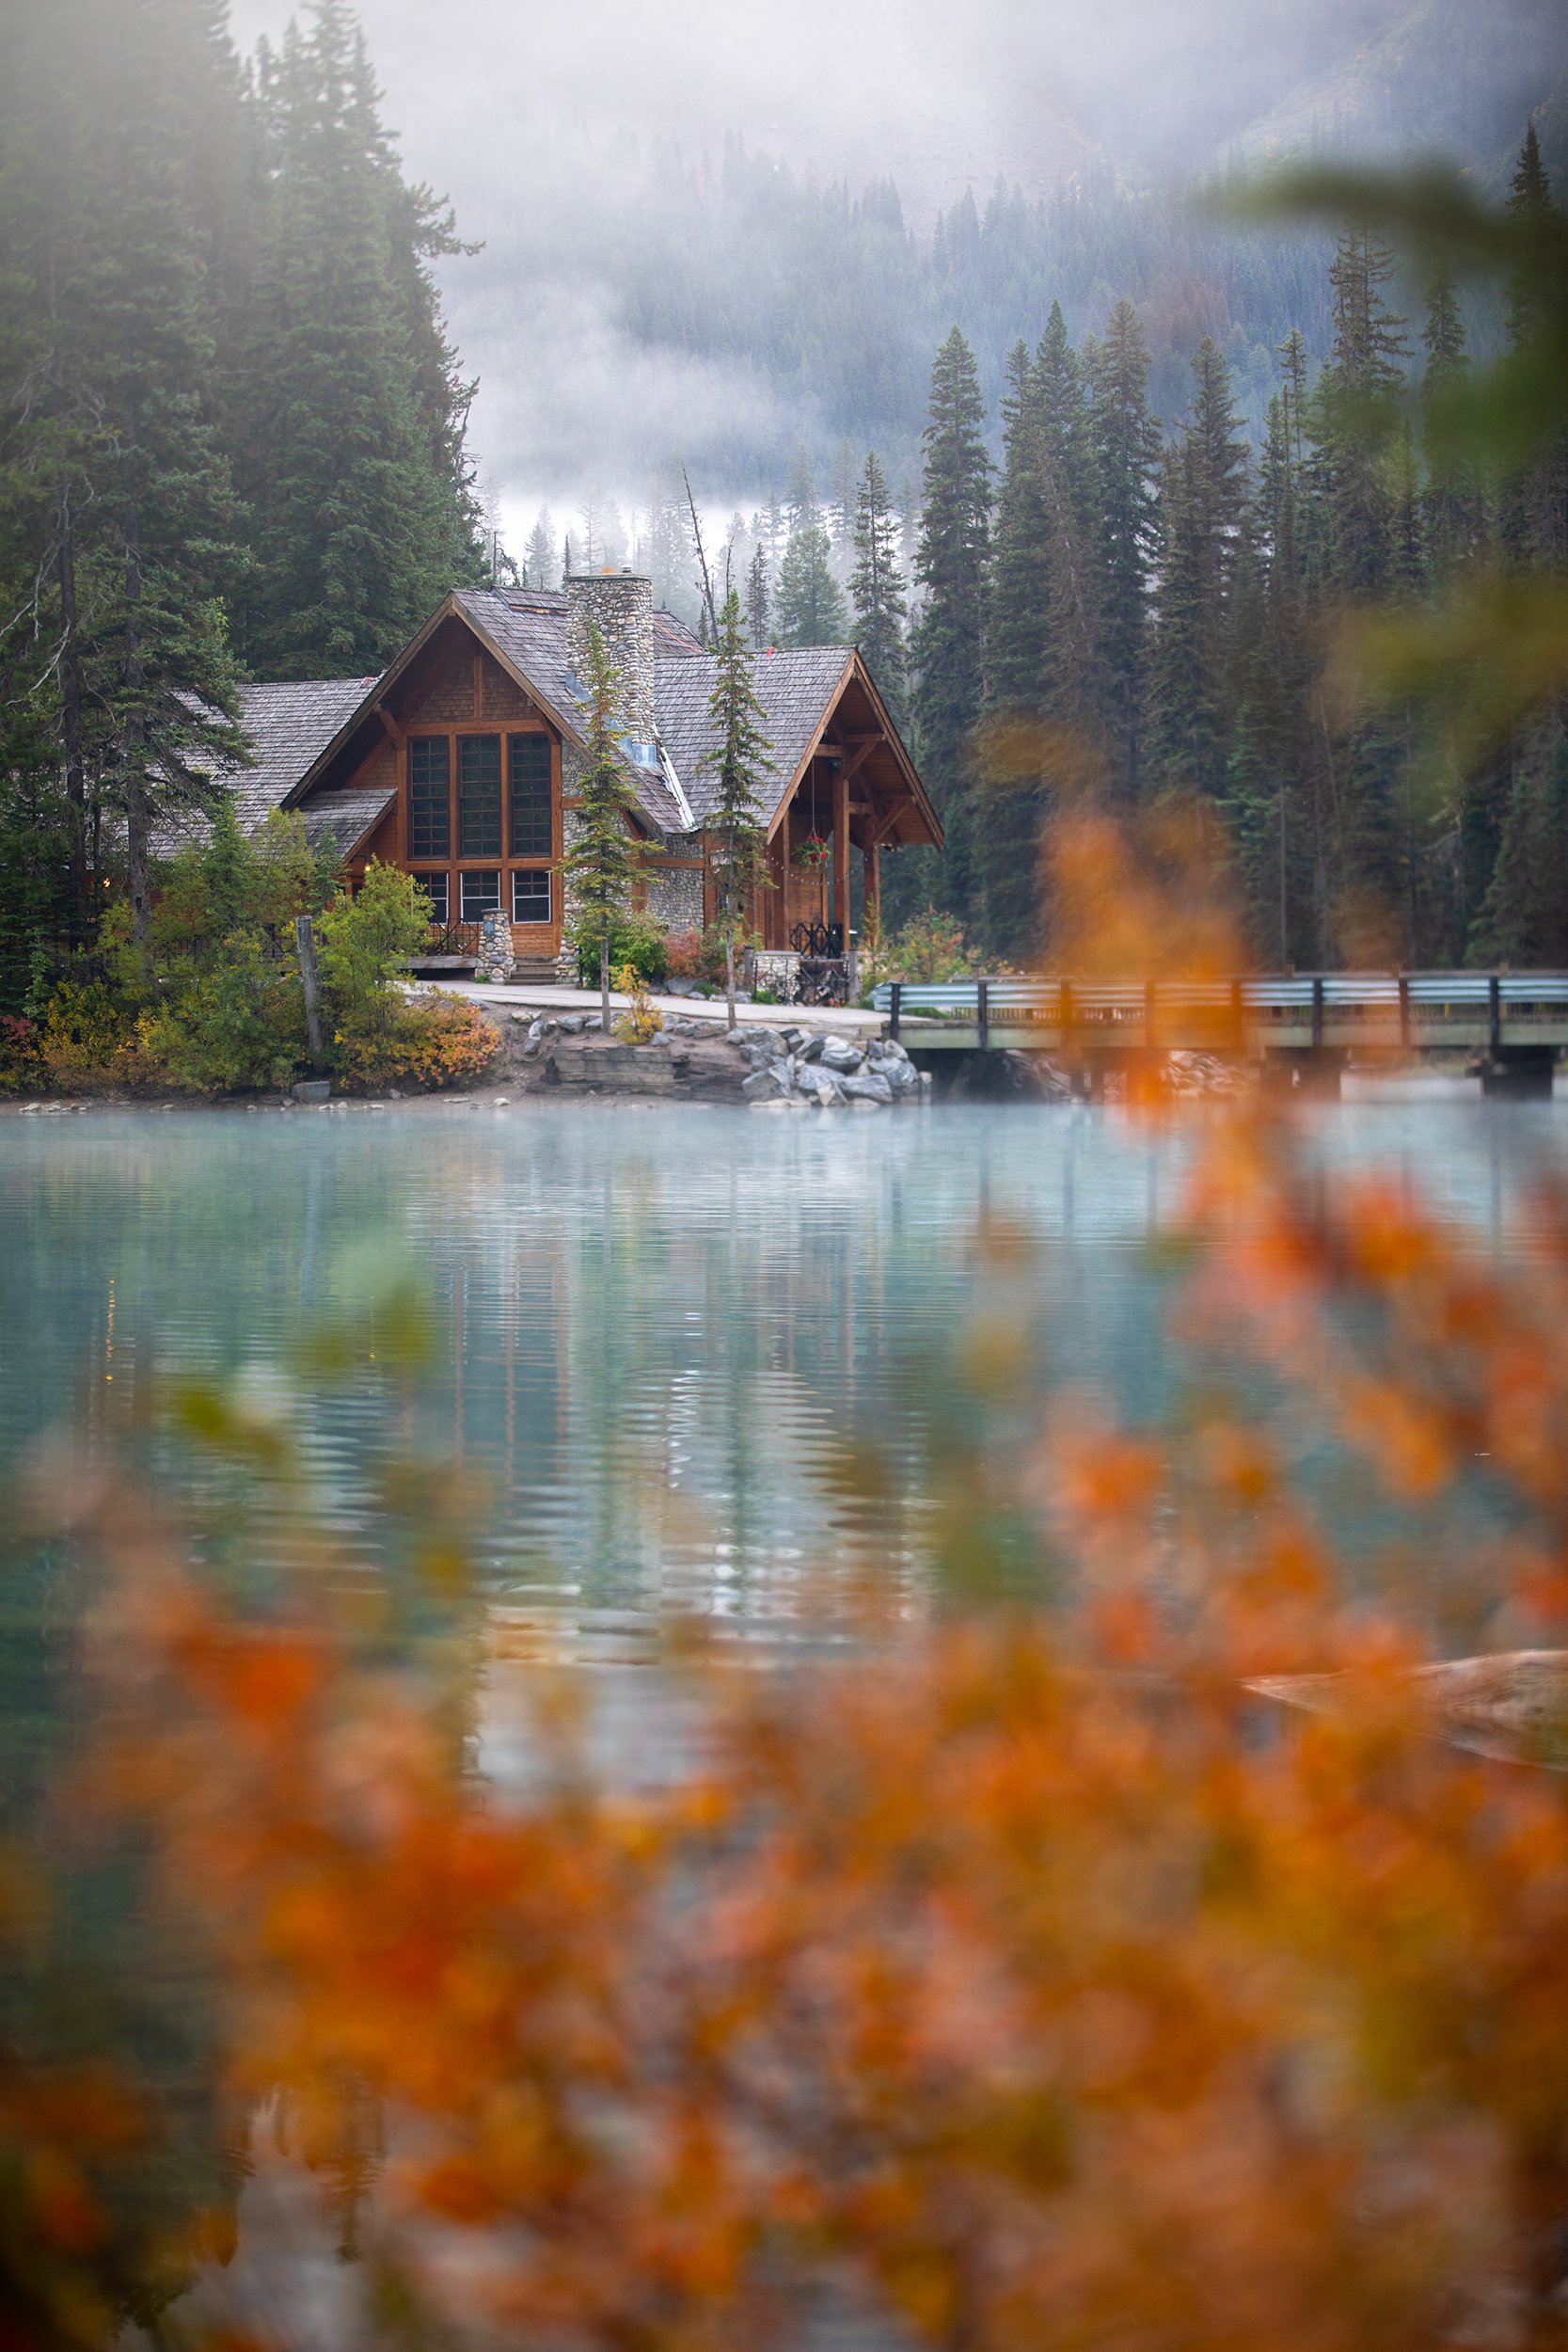
One of the EASIEST places to access in Banff National Park is the beautiful Herbert Lake. You are almost guaranteed a reflection at sunrise which makes this one of my favourite places to photograph. It’s the first lake you hit when you travel the Icefields Parkway HWY and must stop for everyone passing through.

Herbert Lake at sunset - Located on the Icefields Parkway on the left-hand side of the highway. There are signs about where to turn into the parking lot.
What I love about Herbert Lake is that not many people stop or consider this a place for their landscape photography. It is almost always quiet at sunrise and one of the perfect places to practice long exposure photography or capture some amazing reflections!

Next up is PEYTO LAKE - Another jewel in Banff National Park
Not far from Bow Lake is the stunning Peyto Lake. It is a crime if you don’t visit both of these spots. Peyto Lake requires a short hike to reach the main view, but there are other trails that take you up a bit higher and away from the crowds. It is an endless playground for landscape photographers.

Peyto Lake during winter at sunset

Famous for the stunning colour of the lake that is shaped like a wolf’s head, Peyto Lake is a beautiful location to photograph at any time of the day, but as always, sunrise will yield some stunning results.
How to get here? Peyto Lake is located on the Icefields Parkway and about a 15-minute drive from Bow Lake heading north. It is well-signed and you can’t miss the turn off into the parking area.
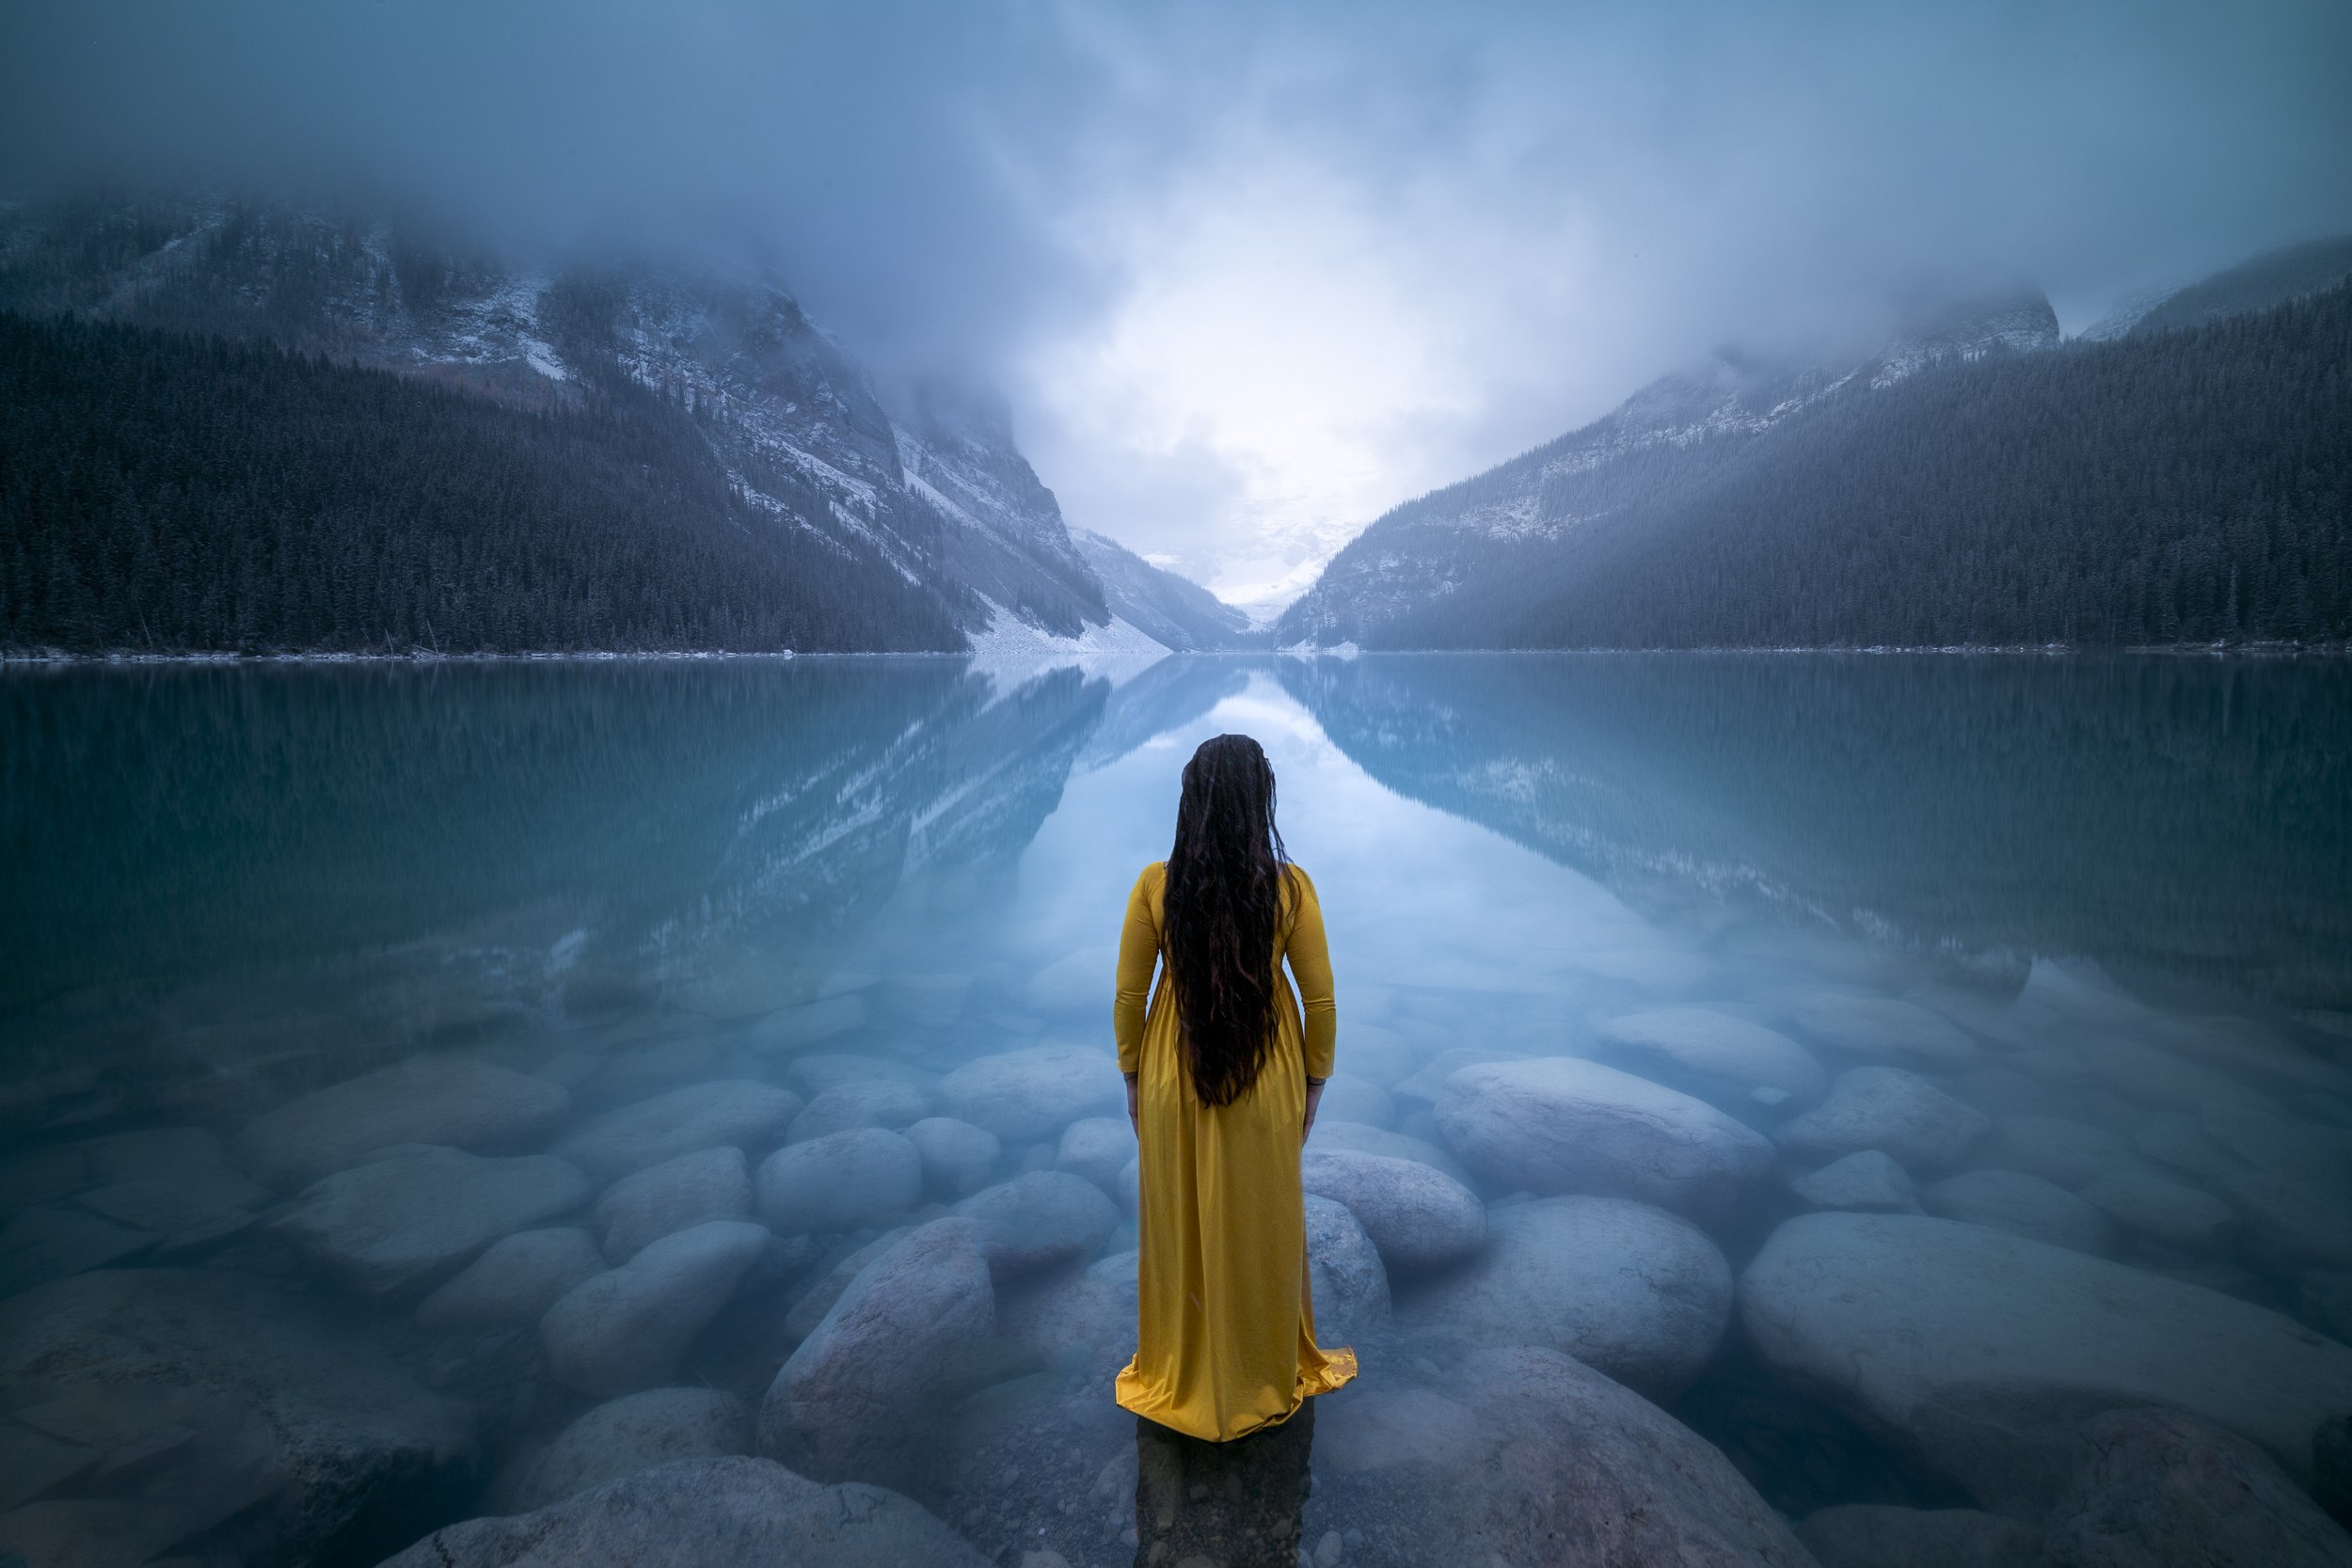
Last, but most certainly not least - The famous Lake Louise
Lake Louise is the place where my landscape photography journey began. It took me many years to finally visit this location, but once I did, I was hooked on landscape photography.
It is one of my favourite locations to photograph despite the busy crowds. I would never visit this place in the summer months, but when the weather cools down and we enter fall, it is not as busy. Even better if you could visit it in November.

Most people stick around the main view at Lake Louise, but if you walk to the back of the lake, there are endless compositions to be found like this one and you get a unique perspective of the area that not many landscape photographers have.

Lake Louise from the main view at sunset.
I like photographing this lake at any time of the day, but many will find sunrise to be calm and after a rainfall, there can be a layer of mist that blankets and hugs the surrounding mountains.
Lake Louise is one of the easiest locations to access. It is the last village before turning onto the Icefields Parkway and is well-signed. Depending on the time of year you visit, you may have to access the Lake with a shuttle service because the parking fills up quickly!
I have been working as a photography guide in Banff National Park for the past 5 years. I have extensive knowledge of the area, but that doesn’t mean I ever overlook the icons in my beautiful country. There is plenty of time to explore hidden gems, but to miss these stunning locations means you miss some greats for your portfolio.
For people who print and sell their work - It is always best to have some of the popular locations as they typically do sell the best.
Find more of my photography education here on YouTube :)

About Sarah
Sarah Lyndsay is a Canadian landscape and self-portrait photographer based in Banff National Park. She shares all of her adventures on her YouTube channel and has been educating other photographers on workshops all over the world including her own home.
To learn more about Sarah’s guiding services, visit her Photography Tour page here - Photography Tours
Get in touch here!
Many thanks for making it to the end of this blog and happy photographing in the Canadian Rockies!
Sarah Xoxo

Best settings for landscape photography..
Best settings for landscape photography and how to use shutter speed, aperture and ISO to create stunning landscapes.
The best settings for landscape photography are subjective, but there is a great formula to follow especially if you’re just starting out! For years I implemented the same settings for all of my landscape photography outings, but still allowed room for experimentation & creativity.
This guide is here to help you get started or to help you enhance your current skills.
Of course, all photography is achievable handheld, but I do find having a tripod when fiddling around with different apertures & shutter speeds is very helpful. ESPECIALLY when you have slow shutter speeds.

Notice the slower shutter speed effect in the water? Not long enough to smooth out the clouds, but just right to create glass-like reflections. F 11 - ISO 100 - 1/4 SEC
Before we get into the best settings, these things are very important to understand and implement almost every single time you are out photographing!
Shoot in RAW format
Turn off noise reduction (this will frustrate you when turned on, trust me)
Use autofocus when the scene allows it (Night photography will have to manually focus)
If you prefer manually focusing, zoom in on your live view to make sure the scene is properly in focus. Rotate the focusing ring until you know for sure.
Turn off image stabilization if you’re using a tripod
Enable blinkies & the histogram. Do not trust your eyes on the back of the screen for this. If those highlights look blown out, they likely are.
Use single servo autofocus
Set your white balance to AUTO white balance. This will almost always be changed when you post-process which is why it doesn’t matter what you choose in camera.

A longer shutter speed
F 11 - 30 Sec - ISO 100
Tripod is essential for these types of long expo images.
Almost all of my images are photographed within F8, F11 and F16. If I feel like getting creative I will play around with F2.8, but only when I want to have the foreground out of focus so it leads the viewer directly to the main subject.
An example of using 2.8
Because I had such a fast shutter speed, I could create this image handheld.
F2.8 -1/200 Sec - ISO 100
Now that you’re all set up on your tripod or handheld, of course, it’s time to decide your correct exposure settings.
Use MANUAL or APERTURE PRIORITY mode so that your set aperture is never compromised
For landscape photography, an aperture of F8, F11 or F16 is best. This will give you maximum sharpness throughout the photo and it controls your depth of field.
Use your lowest ISO setting possible and shut off AUTO ISO
Now it’s time to adjust your shutter speed which will always be different because of the light in your scene. If you’re using APERTURE PRIORITY mode, the shutter speed will be decided for you, however, be warned you lose control over the exposure this way.
You can correct this by setting your exposure compensation and slightly underexposing. Typically in aperture priority mode, the highlights can blow out.
If your shutter speed is too slow, this will introduce a blurring effect in your photo. If you are handheld shooting you will have to raise your ISO to allow you faster shutter speeds. If you are on a tripod and the scene calls for it, you’ll have a nice long exposure effect which I personally love and always strive to achieve.
That’s it! Simple!
An example of a slower shutter speed made possible by using an ND filter and tripod.


In this video, I explain how you can use your ISO to help you achieve your desired shutter speeds and apertures. It’s not as scary as you may think!
Congrats!!! You are now ready to get out there and start creating some of your own epic landscape photographs! I hope you found this guide useful and as always, the BEST camera settings are subjective. There are so many ways to create landscape photographs using a variety of apertures and shutter speeds.
I’d love to hear from you!
Please feel free to contact me through the form below if you have any questions!
Happy to help :)
Sarah Lyndsay xoxo

Dramatic Photos in Twenty Minutes is a tutorial for those looking to save time yet achieve professional results and dramatic impact with your imagery. One of the most important things to me is saving time while running a busy business or simply living life.
Having a background in landscape & portrait photography, I chose an image that incorporates both worlds as I find myself editing the two genres in a very similar way.
This Editing Tutorial is a simple, easy to learn video, that teaches editing without the use of complicated techniques. I have worked on & refined the techniques you’ll find here and I am sure you will be very pleased with the results. Whether you’re a beginner or advanced photographer, this tutorial will help you advance your skills. A basic understanding of photoshop is required to maximize what I teach in this video.
Does not include sharpening or exporting.
Video duration - 40 mins
Program used - ADOBE PHOTOSHOP
Available worldwide. The video will be available to download upon purchase for 24 hours.
Also includes a bonus edit to recapp everything taught through the main edit.
Download could take some time since it’s a large file.
Price is in USD